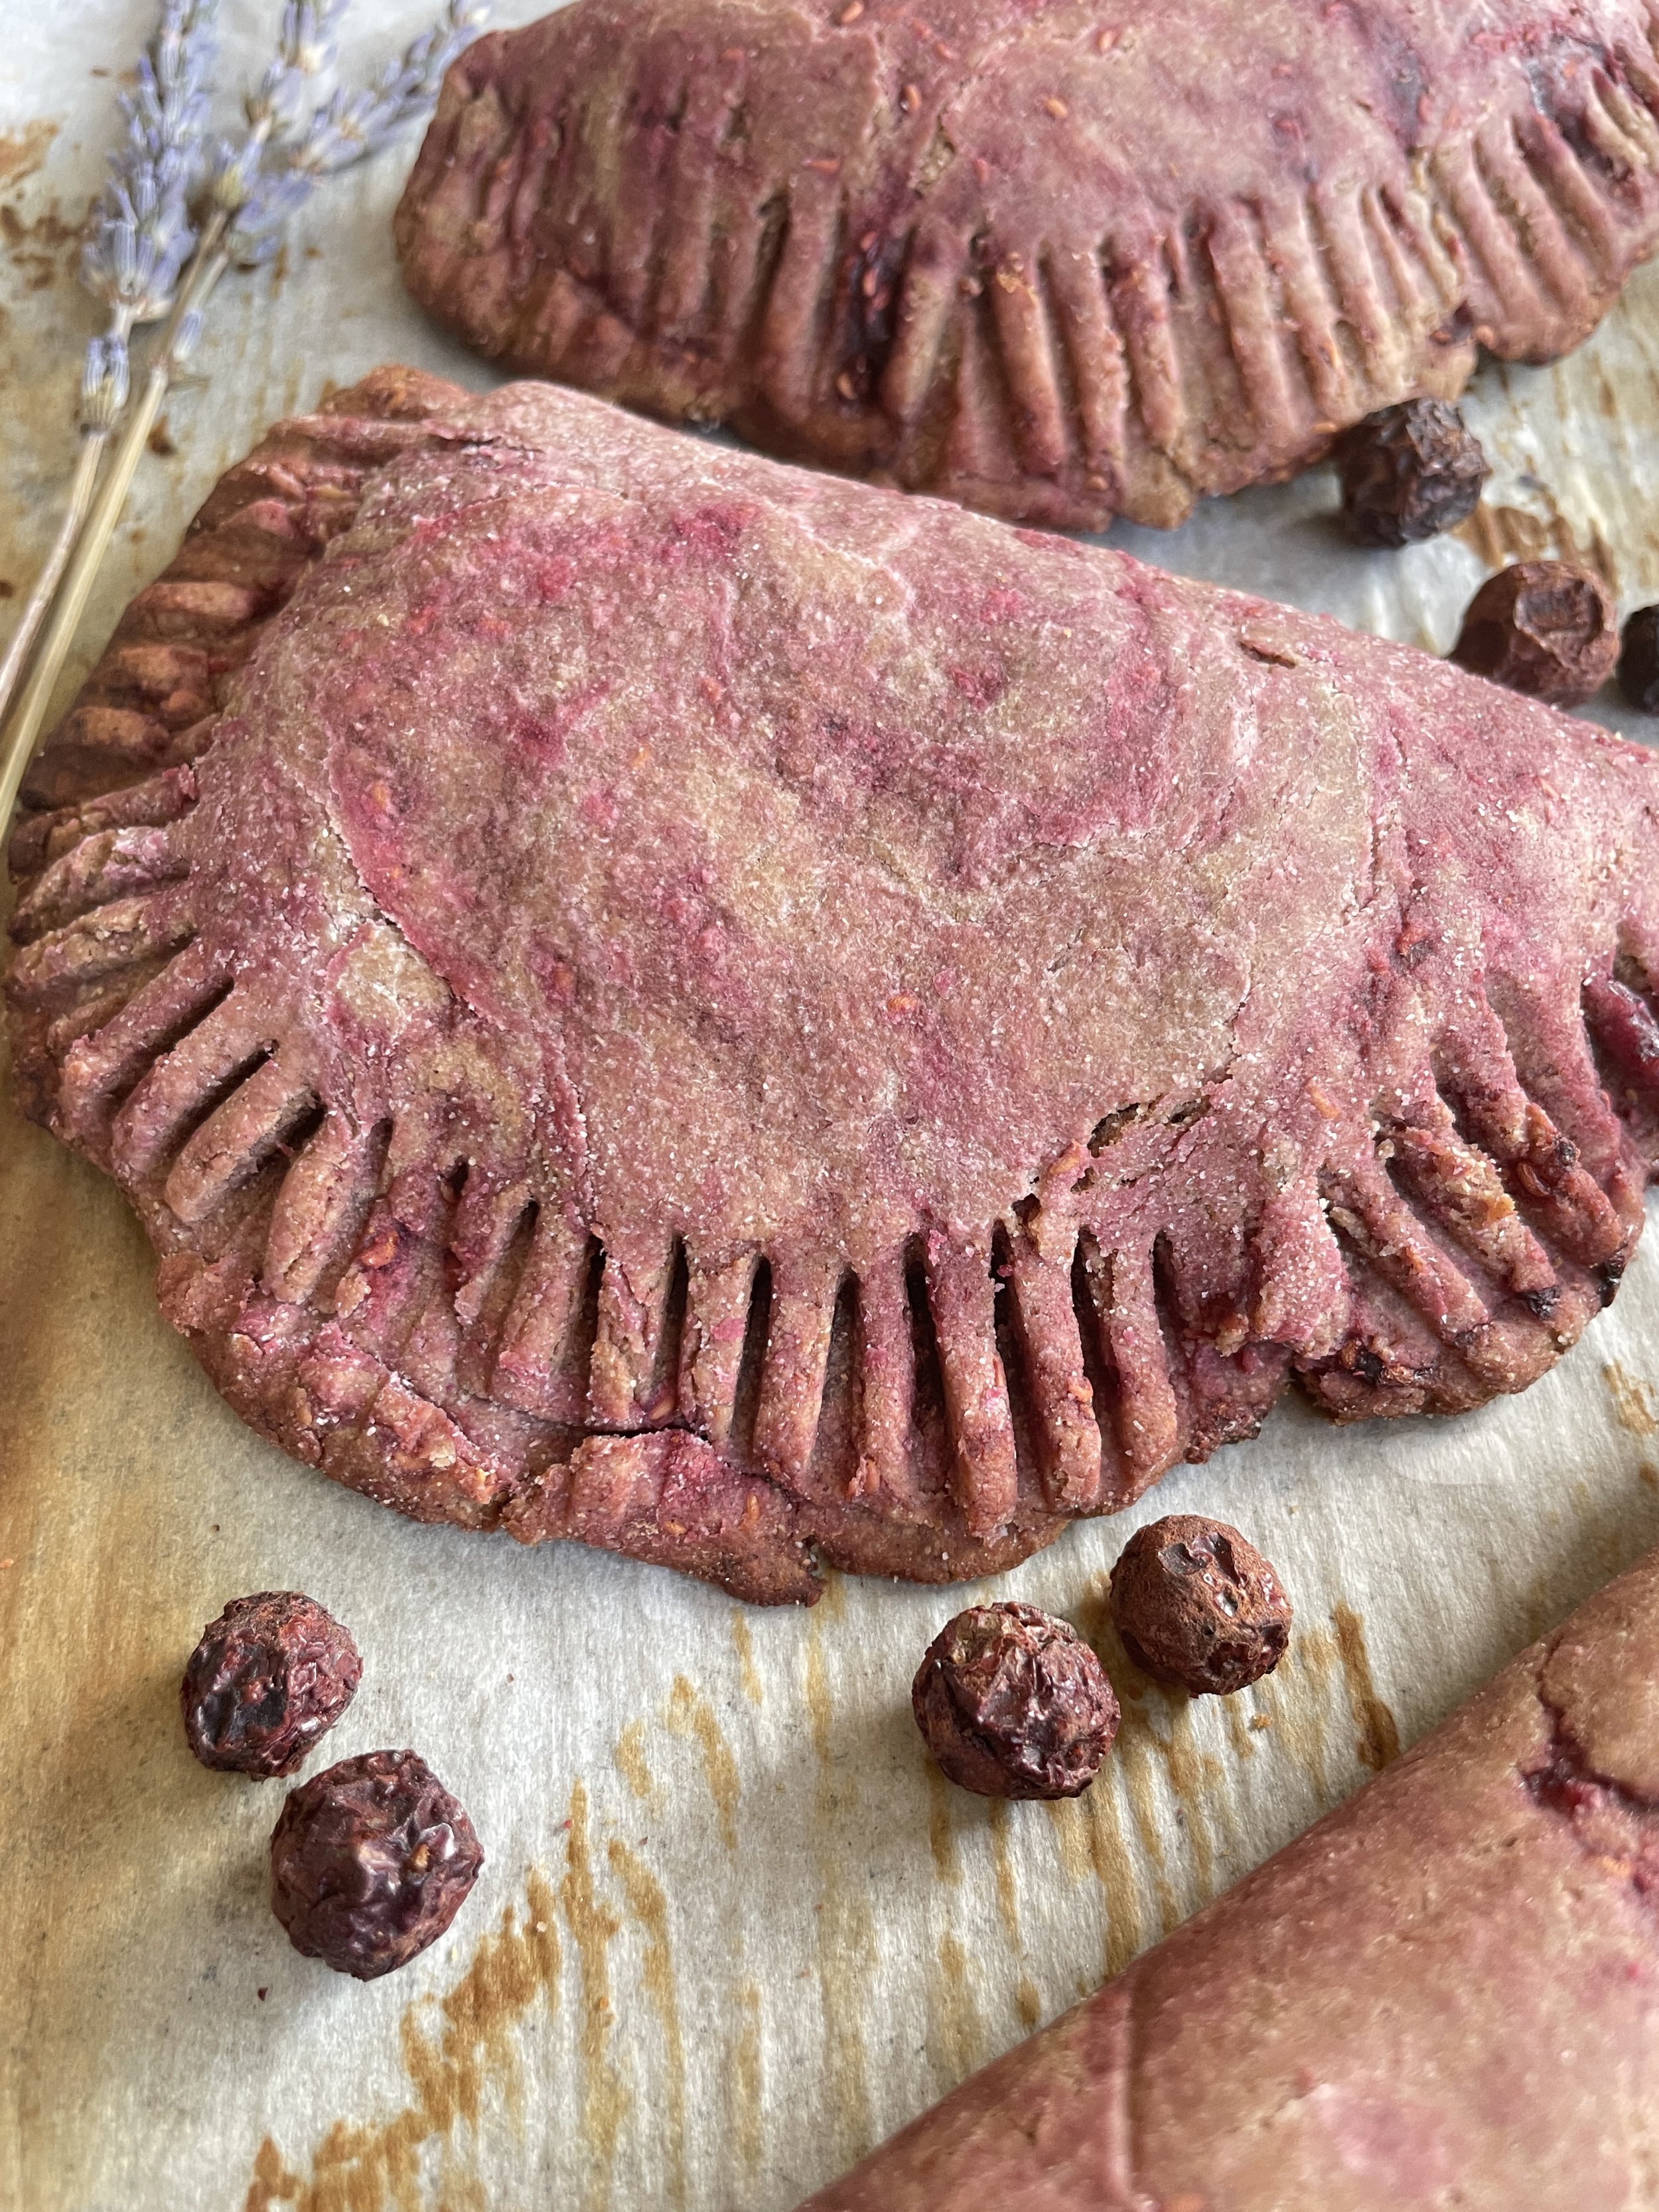
Marbled Raspberry Hand Pies
Hand pies are a favorite of mine. In the summer I use seasonal berries and fruit and since we are in the last few days of summer right now, it felt like the perfect time to share the last pieces of fruit that are still in season where I live in the Tri-State & New England area.
Raspberries. However…
If you don’t want to use raspberries in this recipe, you may substitute any other berry you like including:
Mulberries
Strawberries
Blueberries
Blackberries
Chokecherries
Etc
As always this recipe is grain free, sugar free, paleo, nut and seed free and is compliant with phase one of the Autoimmune Protocol.
Ingredients Used:
Cassava flour: Cassava is native to Brazil and South America. It’s similar in shape to a sweet potato but is longer and brown on the outside. Inside the flesh is white. Like sweet potatoes and yams, cassava is also a tuber that is often made into a flour or is eaten on it’s own just like a potato. This root vegetable can be use as a substitute for many potato based recipes. It’s flour may also act as a 1:1 flour replace in some recipes as well. I prefer Otto’s Cassava flour
Banana: Banana is used here as a thickener, stabilizer and adds a touch of sweetness to this bake
Palm Shortening: Palm shortening is used to replace butter in this recipe.
Hawthorn Berry Powder: Hawthorn powder is derived from hawthorn berries. I love adding them to this recipe for a slightly deeper pop of color and added nutrients. Hawthorn has many medicinal benefits. I love using it as a heart tonic and nervous system soother.
Marbled Raspberry Hand Pies:
Ingredients:
75g palm shortening
115g banana
150g cassava flour
5 tbsp hawthorn berry powder
Small dish of water
12oz frozen raspberries
1 tbsp dried rose hips
1-2 tbsp tapioca starch
Preparations:
Start by mashing your banana in a large bowl. Make sure it’s ripe. Once it’s fully mashed, add in the palm shortening and continue mashing the two together until fully combined.
Then, measure out the cassava flour and hawthorn powder and add them both to your batter.
Mix this with your hands until a dough begins to form.
Keep your dish of water on hand and dip your fingers in every so often to provide more moisture to the dough if you feel it’s too dry.
Once you have a good shape and consistency, place your dough to the side and cover it with a kitchen towel. Let it rest for 10-15 minutes
While this is happening, you'll make your raspberry jam. Add 12oz of frozen raspberries (you could also use fresh but frozen works better here in my experience) to a pan. No oil needed. We are going to cook down the raspberries until they are broken down. This takes aobut 10 minutes. Once the raspberries begin to melt and liquify, add in the arrowroot or tapioca starch. Once everything is combined turn off the stove and set aside.
Now you're ready for the dough. Remove the dough from the bowl and break it into four pieces. If it's too dry, dip the tips of your fingers into a bowl of water to moisten the dough as you keep working with it.
Use two sheets of parchment and a rolling pin to roll out each ball of dough into a circle. Place a tablespoon of raspberry jam in the center. Fold the dough into itself in a ball in the palm of your hands. You want to get the raspberries to mesh with the dough. Your hands will become gooey with raspberry jam.
Place your dough piece to the side and wash your hands off. Then pick it back up again and roll it out the same way you did the first time. But this time you'll have a gorgeous raspberry swirl in your dough.
Add a tablespoon of jam to one side of your rolled out dough. The key here is to put less on than you think you need. This way, your hand pie won't spill over when you're sealing or baking it. You're essentially doing the opposite with the first batch of dough you rolled out.
Now, fold one side over the other using the parchment paper to carefully guide it over, without breaking. Seal with your fingers or the back of a knife.
Set your oven to 350F and bake for 25-30 minutes. These will keep in the fridge for four to five days.


